
You can definitely repair a dripping faucet by first identifying its type and locating worn components like washers, O-rings, or cartridges.
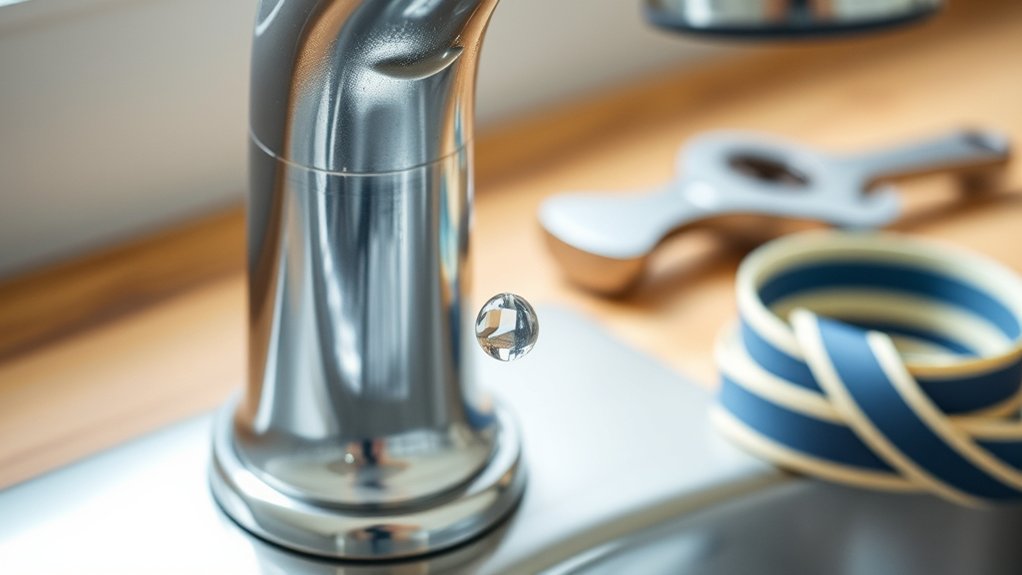
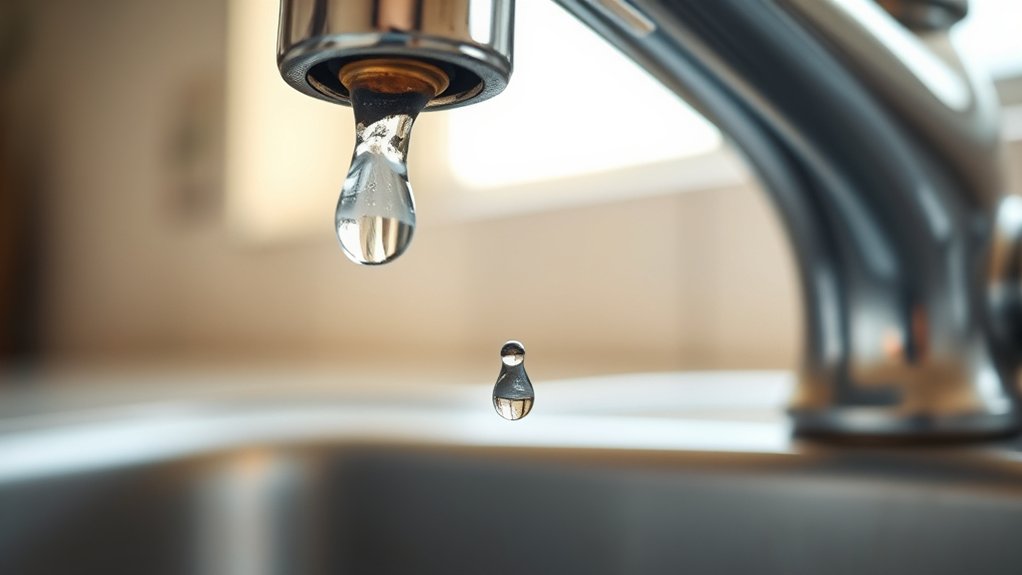
A dripping faucet often results from these small parts wearing out over time.
Grab basic tools such as screwdrivers and an adjustable wrench to access and replace damaged parts.
Remember to turn off your water supply before starting and apply plumber’s grease to seals for a tight fit.
If corrosion or damage runs deep, full part replacement might be necessary.
Keep following to uncover detailed repair steps and prevention tips.
Key Takeaways
- Most dripping faucets can be repaired by replacing worn washers, O-rings, or cartridges.
- Identifying the faucet type helps isolate the faulty component causing the drip.
- Turning off the water supply and disassembling the handle is essential before repairs.
- Extensive damage or corrosion may require part replacement rather than simple repairs.
- Regular maintenance and lubrication can prevent future dripping and extend faucet life.
Identifying the Cause of a Dripping Faucet
How can you pinpoint the exact reason behind a dripping faucet? Start by identifying the faucet type: compression, cartridge, ceramic disk, or ball. Each type has unique components prone to wear.
Common dripping causes include worn-out washers in compression faucets, damaged O-rings in cartridge models, or corroded valve seats across types. Inspect the handle and spout for visible damage or mineral buildup, which can impair the seal.
Check if the drip occurs when the faucet is off, indicating internal part failure rather than external leaks. Understanding your faucet’s design helps isolate the faulty component causing the drip.
Accurate identification is essential before any repair, ensuring you target the root cause instead of treating symptoms, saving time and preventing recurring leaks.
Tools Needed to Fix a Dripping Faucet
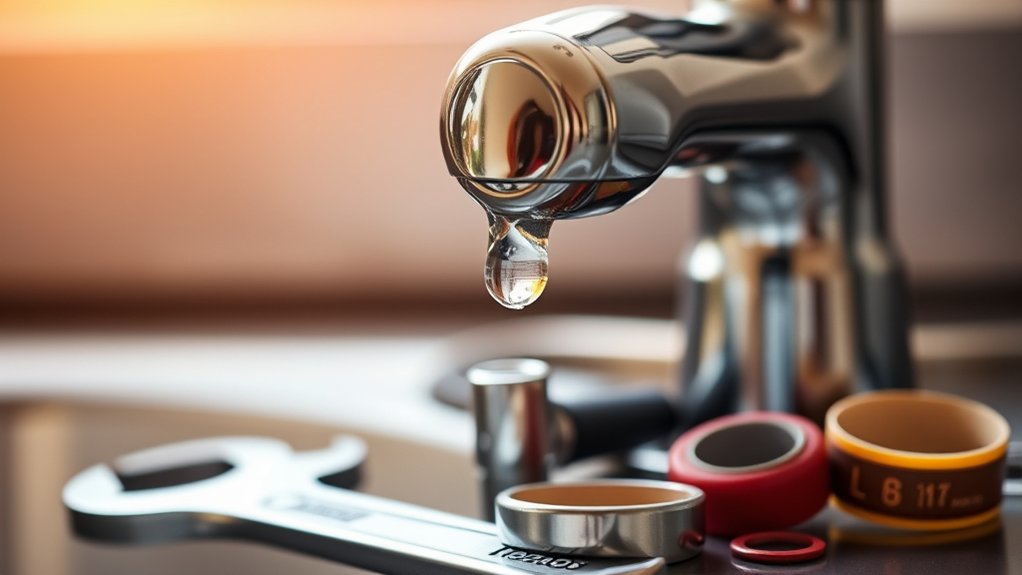
To successfully repair a dripping faucet, you’ll need a specific set of tools designed for plumbing tasks. Start with an adjustable wrench and a set of screwdrivers, both flathead and Phillips, to remove faucet handles and fittings.
A basin wrench helps access tight spaces under the sink, while needle-nose pliers assist in gripping small parts. Have replacement repair supplies ready, such as O-rings, washers, and cartridge kits, essential for effective faucet maintenance.
A plumber’s grease will lubricate seals and prevent future leaks. Additionally, a flashlight illuminates dark areas, and a cloth or small container catches drips and holds removed parts.
Fixing Common Faucet Leaks Step-by-Step

With your tools and replacement parts ready, you can begin addressing the specific causes of faucet leaks. First, turn off the water supply and remove the faucet handle.
Inspect washers and O-rings for wear, as these are common faucet issues causing drips. Replace any damaged parts, then reassemble the faucet carefully.
Use faucet maintenance tips such as cleaning components and tightening connections to prevent future leaks.
| Step | Emotion Elicited |
|---|---|
| Identify leak cause | Frustration relief |
| Turn off water | Control regained |
| Replace worn parts | Confidence boost |
| Reassemble faucet | Accomplishment |
| Test faucet | Satisfaction |
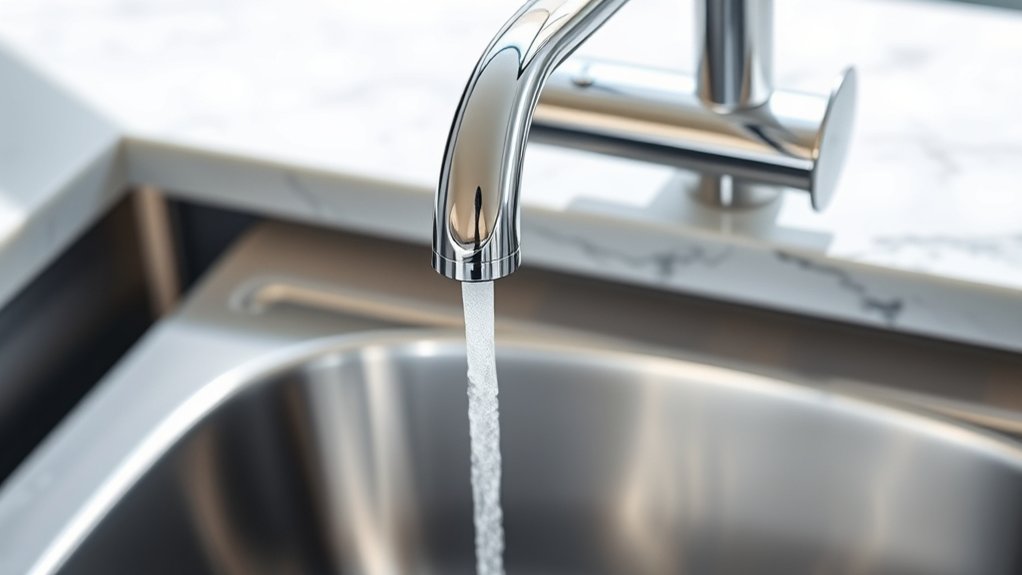
Following these steps guarantees a durable repair and helps avoid recurring leaks.
When to Replace Faucet Parts Instead of Repairing
Although minor leaks can often be fixed by replacing washers or O-rings, you should replace entire faucet parts when damage extends to the valve seat, cartridge, or spout assembly. These components are critical to the faucet’s function, and worn or corroded parts can cause persistent leaks.
Consider the faucet lifespan; if your faucet is nearing the end of its expected use, replacing major parts might not be cost-effective. Conduct a cost analysis comparing repair parts and labor against a full faucet replacement.
Extensive corrosion, cracks, or repeated leaks signal that repair won’t restore long-term reliability. By replacing key parts only when necessary, you avoid wasted effort and expenses while ensuring your faucet functions properly without recurring issues. This approach balances durability and budget effectively.
How to Prevent Your Faucet From Dripping Again
Replacing worn parts is only part of the solution; preventing your faucet from dripping again requires ongoing care and attention. Start by regularly inspecting washers, O-rings, and seals for wear or mineral buildup.
Implement faucet maintenance tips such as cleaning aerators and tightening fittings to reduce stress on components. Use proper sealing techniques when reassembling: apply plumber’s grease on rubber seals to maintain flexibility and guarantee a water-tight fit.
Avoid overtightening parts, which can deform seals and cause leaks. Flushing the faucet occasionally helps remove sediment that can impair valve function.
Finally, monitor water pressure; excessive pressure strains the faucet and accelerates wear. By integrating these preventive steps into your routine, you’ll extend faucet lifespan and minimize the chance of recurring drips.
Frequently Asked Questions
Can a Dripping Faucet Increase My Water Bill Significantly?
Yes, a dripping faucet can increase your water bill considerably over time. Fixing it promotes water conservation and reduces unnecessary plumbing costs. Constant leaks waste gallons daily, impacting both your expenses and resource efficiency.
Is It Safe to Fix a Faucet Without Shutting off the Water Supply?
When it comes to safety precautions, don’t put the cart before the horse. Never fix a faucet without shutting off the water supply unless it’s an emergency. Doing so prevents flooding and protects you from injury.
What Types of Faucets Are Most Prone to Dripping?
Compression faucets and cartridge faucets are most prone to dripping. You’ll find compression types leak due to worn washers, while cartridge faucets drip from damaged seals or cartridges.
These issues require targeted repairs to restore proper function.
Can Hard Water Cause a Faucet to Drip?
Yes, hard water deposits cause mineral buildup, which wears seals and valves, leading to leaks. You should perform regular faucet maintenance, like cleaning aerators and replacing worn parts, to prevent dripping and extend your faucet’s lifespan.
How Long Does a Typical Faucet Repair Take?
You’ll usually complete faucet repair in 30 to 60 minutes using common repair techniques like replacing washers or cartridges. Regular faucet maintenance prevents leaks and extends lifespan, saving you time and money on future repairs.
Conclusion
Don’t let that dripping faucet drive you crazy like a never-ending waterfall in your kitchen. With the right tools and a clear understanding of the cause, you can stop the leak quickly and precisely.
Whether it’s replacing a worn-out washer or tightening a loose valve, your repair will save gallons of wasted water and endless frustration. Act now, and you’ll prevent future drips from turning your sink into a mini Niagara Falls.
A dripping faucet can be repaired with some basic skills and patience. Taking care of it promptly not only conserves water but also protects your plumbing from further damage.

Leave a Reply