
You can cook right after seasoning your Blackstone griddle, but it’s best to wait until the oil fully polymerizes into a strong, non-stick surface.
Cooking immediately after seasoning might cause sticking and lead to uneven seasoning, which reduces durability and food release.
Look for a dark, uniform sheen and mild smoke as signs that your griddle is ready.
Avoid cooking acidic foods initially to protect the seasoning layer.
To keep your griddle in top shape, maintain proper care and regular maintenance.
Mastering the seasoning process is key for ideal results on your Blackstone griddle.
Key Takeaways
- You can cook right after seasoning, but the seasoning layer may not be fully cured for optimal non-stick performance.
- Waiting allows the oil to polymerize, creating a stronger, more durable seasoning layer that improves food release.
- Immediate cooking risks uneven seasoning and increased food sticking due to incomplete bonding of the oil.
- Look for a dark, uniform black sheen and light smoke to confirm the seasoning is properly bonded before cooking.
- Avoid cooking acidic foods immediately as they can break down fresh seasoning and reduce its effectiveness.
Can You Cook Immediately After Seasoning Your Blackstone?
Wondering if you can cook immediately after seasoning your Blackstone? Yes, you can, but understanding the griddle benefits and proper seasoning techniques is essential.
Seasoning creates a natural, non-stick surface that protects the griddle from rust and enhances flavor. After applying oil and heating, your Blackstone forms a durable coating. Cooking right away is possible because this initial layer handles moderate heat and prevents food from sticking.
However, keep in mind that seasoning is an ongoing process; repeated use and maintenance improve performance over time. By mastering seasoning techniques, you maximize your griddle benefits, ensuring even cooking and easy cleanup.
Why It’s Better to Wait Before Cooking After Seasoning
Although you can cook immediately after seasoning your Blackstone, waiting allows the oil layers to fully polymerize, creating a stronger, more durable non-stick surface. This polymerization process enhances the seasoning benefits, improving food release and rust resistance.
By allowing time, you guarantee the oil bonds properly at the right cooking temperature, which is vital for forming a hard, protective layer. Cooking too soon can cause uneven seasoning and food sticking, reducing your griddle’s lifespan.
Patience helps the seasoning cure thoroughly, maximizing performance and ease of cleaning. So, while it’s tempting to start cooking right away, giving the griddle time to rest after seasoning guarantees you get the best results and long-term durability from your Blackstone.
How to Tell If Your Blackstone Griddle Is Ready to Use

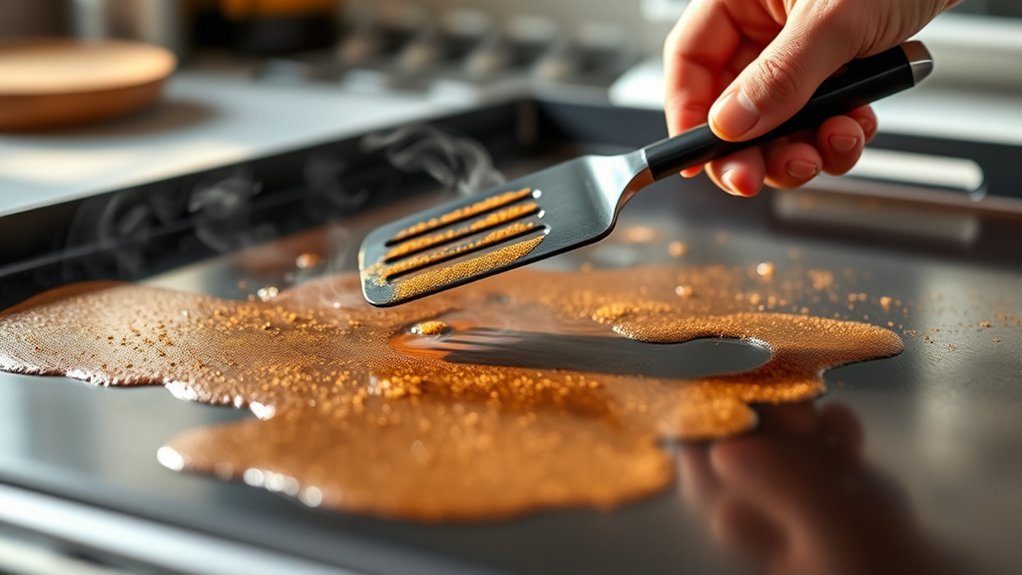
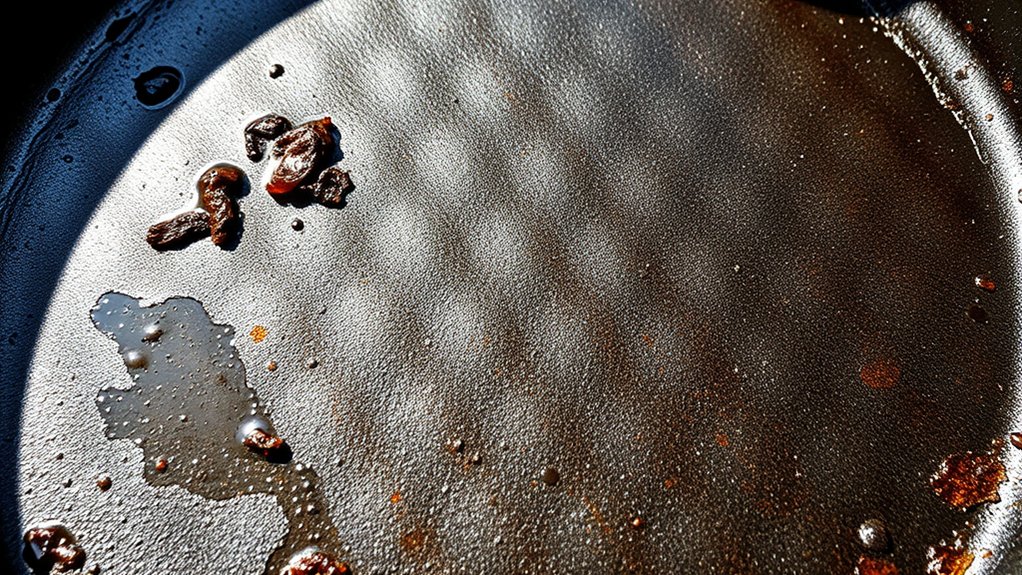
You’ll know your Blackstone griddle is ready when the surface changes from dull to a dark, almost black sheen. Watch for a light smoke and a subtle, clean smell. That’s the seasoning layer bonding properly.
These signs confirm your griddle is at the right temperature and primed for cooking.
Visual Surface Changes
Several visual cues help you determine when your Blackstone griddle is ready to use. Pay close attention to the visual surface as it undergoes key color changes during seasoning.
Initially, the bare metal will darken from a silver-gray to a richer, matte black. This shift signals the formation of the protective seasoning layer. You might also notice a slight sheen developing, indicating the polymerized oils have bonded properly.
Avoid cooking if the surface still appears patchy or uneven in color, as this means the seasoning hasn’t fully cured. Consistent, uniform blackness across the griddle confirms it’s primed for cooking.
Watching for these specific visual surface changes guarantees you won’t compromise flavor or food safety by cooking too soon on an unseasoned griddle.
Smoke and Smell Indicators
When your Blackstone griddle starts to emit a thin, steady smoke along with a distinctive nutty aroma, it signals that the seasoning oils have properly polymerized and the surface is ready for cooking. Pay close attention to smoke levels; they should be consistent but not excessive.
High smoke levels often indicate overheating or incomplete seasoning, requiring you to adjust heat or wait longer. Similarly, smell intensity matters—too strong or acrid odors suggest burning oils rather than proper polymerization.
A mild, pleasant nutty scent confirms readiness. By monitoring these smoke and smell indicators, you can confidently determine when your Blackstone griddle has developed a durable, non-stick surface, ensuring ideal cooking performance and flavor without off-putting fumes or residue.
Common Mistakes to Avoid When Cooking After Seasoning
Although seasoning your Blackstone griddle sets a solid foundation, mistakes during cooking can quickly undermine your efforts. Avoid these common seasoning mistakes to prevent immediate cooking consequences like uneven heating or food sticking.
- Cooking on a griddle that’s not fully heated, which can cause food to stick.
- Using excessive oil right after seasoning, washing away the protective layer.
- Cooking highly acidic foods immediately, which can break down the seasoning.
- Failing to clean the griddle gently, leading to damage of the seasoning layer.
Best Foods to Cook Right After Seasoning Your Blackstone
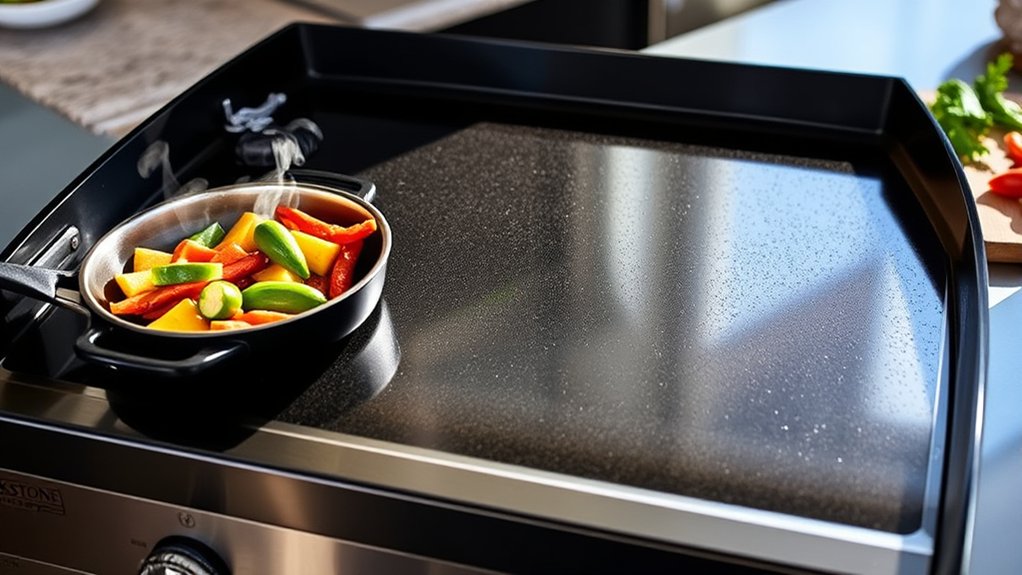
Right after seasoning your Blackstone, start with ideal foods like vegetables and thin cuts of meat that cook quickly and help build a reliable non-stick surface. Quick cooking options such as sliced peppers, onions, or shrimp allow you to test heat control and seasoning effectiveness without overwhelming the griddle.
These choices set you up for success as you move on to more complex recipes.
Ideal Starter Foods
Choosing the best foods to cook immediately after seasoning your Blackstone griddle sets the foundation for its non-stick surface and flavor development. You want foods that help build seasoning layers while being easy to manage during your initial griddle cleaning and maintaining seasoning frequency.
Start with items that release natural oils and won’t stick or burn quickly.
Ideal starter foods include:
- Bacon strips: Their fat enhances seasoning and adds flavor.
- Fried eggs: They test the non-stick surface without overpowering it.
- Hash browns: Their starch helps seal the seasoning.
- Sautéed vegetables: They absorb the seasoned surface and provide moisture.
Cooking these foods right after seasoning guarantees your griddle develops a robust, easy-to-clean surface you’ll appreciate in future uses.
Quick Cooking Options
When you start cooking on your freshly seasoned Blackstone griddle, picking quick-cooking foods helps you maintain control and build seasoning efficiently. Opt for items like thin-cut vegetables, shrimp, or breakfast staples such as eggs and bacon.
These foods cook rapidly, allowing you to monitor heat levels and prevent sticking, which directly supports griddle efficiency. Quick cooking also minimizes the risk of damaging the new seasoning layer, ensuring durability.
Avoid heavy or fatty foods initially, as they can overwhelm the seasoning process. By choosing quick-cooking options, you get immediate feedback on your griddle’s performance and can adjust seasoning or temperature as needed.
This approach accelerates seasoning development and maximizes your griddle’s lifespan right from the start.
How to Maintain Your Seasoned Blackstone Griddle for Non-Stick
Maintaining your seasoned Blackstone griddle guarantees it stays non-stick and performs at its best. Proper griddle maintenance is key to preserving that smooth cooking surface. Follow these non stick tips to extend your griddle’s life:
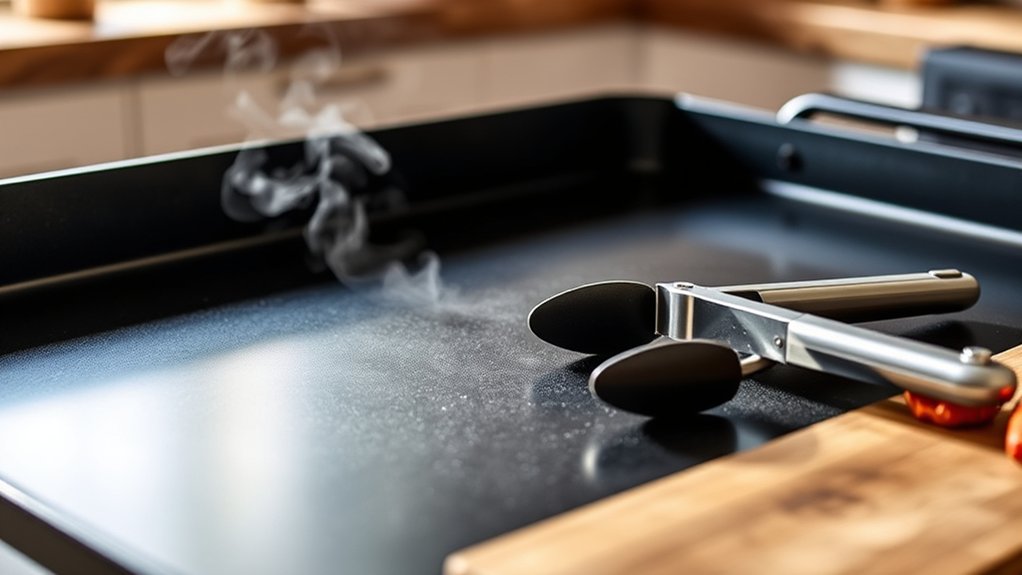
- Clean the surface after each use with a scraper and warm water; avoid soap as it can strip seasoning.
- Apply a thin layer of oil after cleaning to protect the seasoning and prevent rust.
- Heat the griddle before cooking to maintain even temperature and reduce food sticking.
- Avoid cooking acidic foods for long periods as they can break down the seasoning layer.
When and How to Re-Season Your Blackstone Griddle
Although regular upkeep keeps your Blackstone griddle in great shape, you’ll need to re-season it periodically to restore its non-stick surface and prevent rust. Pay attention to seasoning frequency: re-season when you notice food sticking or if rust spots appear.
Use high smoke point oil types like flaxseed, grapeseed, or canola for best results.
Follow these steps:
- Clean the surface thoroughly.
- Apply a thin layer of oil evenly.
- Heat the griddle until the oil smokes and forms a protective layer.
| Step | Details |
|---|---|
| Seasoning Frequency | Every 10-15 uses or when needed |
| Oil Types | Flaxseed, grapeseed, canola oil |
| Heating | Heat until oil smokes, then cool |
Stick to this routine to keep your griddle performing efficiently.
Frequently Asked Questions
What Type of Oil Is Best for Seasoning a Blackstone Griddle?
You want to use best seasoning oils with a high oil smoke point like flaxseed, grapeseed, or canola oil. They create a durable, non-stick surface on your Blackstone griddle and withstand high heat without burning.
Can I Season My Blackstone Griddle Outdoors?
Yes, you can season your Blackstone griddle outdoors. Outdoor cooking offers better ventilation, preventing smoke buildup.
Use proper seasoning techniques, like applying thin oil coats and heating evenly, to create a durable, non-stick surface efficiently.
How Long Does the Initial Seasoning Process Take?
The initial seasoning duration usually takes about 30-60 minutes. You’ll maintain your griddle best by applying thin oil layers and heating evenly.
Proper seasoning guarantees a non-stick surface and long-lasting griddle maintenance.
Is It Safe to Use Soap When Cleaning a Seasoned Blackstone?
Sure, go ahead and douse your seasoned Blackstone in soap if you want to strip its hard-earned seasoning! Avoid soap usage; instead, scrape and wipe for effective cleaning methods that preserve your griddle’s seasoned surface.
Can I Use Metal Utensils on a Seasoned Blackstone Griddle?
You can use metal utensils on your seasoned Blackstone griddle, but be cautious. Metal utensil care is essential to avoid scraping off seasoning.
Properly maintained seasoning durability protects the surface, ensuring long-lasting nonstick performance.
Conclusion
You can cook shortly after seasoning your Blackstone, but patience perfects performance. Waiting lets layers lock in, leading to lasting, luscious non-stick surfaces. Watch for a well-seasoned, smooth sheen before sizzling your staples.
Avoid abrupt actions that can cause coating cracks or sticky setbacks. Start simply with safe, savory selections, then steadily step up.
Sustain your seasoned surface with smart scrubbing and timely treatments to guarantee your griddle stays a sizzling, smooth superstar. Remember, you can cook right after seasoning Blackstone griddle, but taking the time to let the seasoning settle will enhance your cooking experience.

Leave a Reply