
You can sand a cast iron skillet if it has heavy rust or pitting, but it’s not a routine fix.
Using fine-grit sandpaper gently helps avoid damaging the surface. After sanding, clean the skillet thoroughly to remove all debris.
Once sanded, you’ll need to carefully re-season the skillet. Apply a high smoke point oil and heat the skillet to restore its non-stick finish.
Proper sanding and seasoning help preserve your skillet’s durability and cooking performance.
Consider exploring other restoration methods and prevention tips as well. These can further help maintain your pan and extend its lifespan.
Key Takeaways
- Sanding a cast iron skillet is only recommended for severe rust, pitting, or uneven residue, not routine maintenance.
- Use fine-grit sandpaper (120-220 grit) and sand gently to avoid excessive material removal.
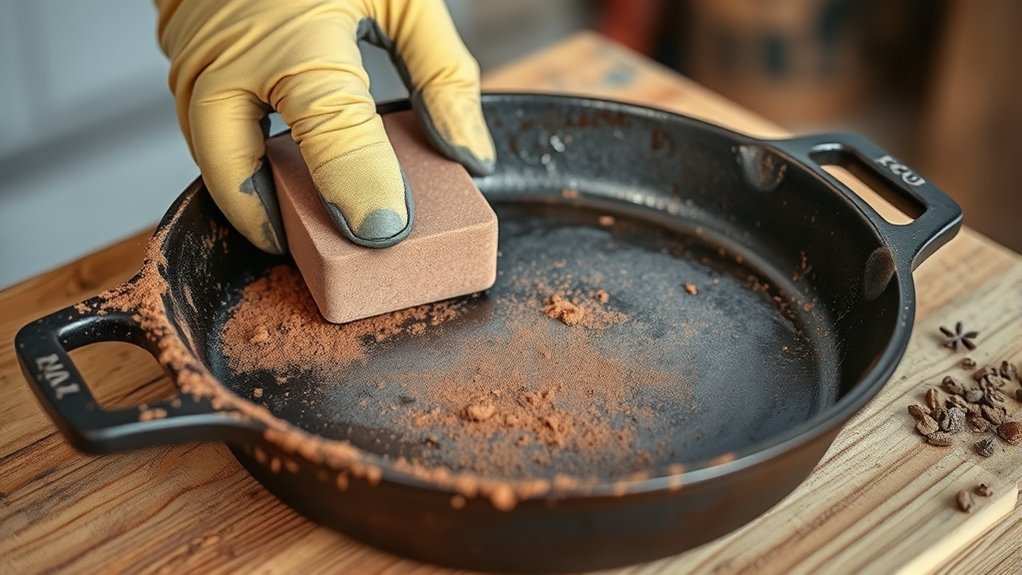
- Always wear protective gloves and a dust mask when sanding to ensure safety.
- After sanding, thoroughly clean and re-season the skillet to restore its non-stick surface.
- Consider alternative rust removal methods like vinegar soaking or baking soda before sanding.
Can You Sand a Cast Iron Skillet? When Should You Do It?

When should you consider sanding a cast iron skillet? You should only resort to sanding techniques if the skillet’s surface has significant damage, such as deep rust, pitting, or uneven residue layers that impair cooking performance.
Sanding a cast iron skillet is only necessary for deep rust, pitting, or uneven residue affecting cooking.
Sanding is not a routine part of cast iron maintenance; it’s a corrective measure for restoring the surface’s integrity. Before sanding, assess if simpler methods like scrubbing or re-seasoning can resolve surface issues.
Sanding can remove the protective seasoning layer, so it’s essential to be precise and controlled. Use fine-grit abrasives to avoid excessive material removal, preserving the skillet’s structural integrity.
Proper sanding prepares the skillet for re-seasoning, ensuring a smooth, durable cooking surface. If you’re unsure, consult maintenance guides to determine if sanding is necessary.
How to Sand Rust and Residue Off Cast Iron Safely
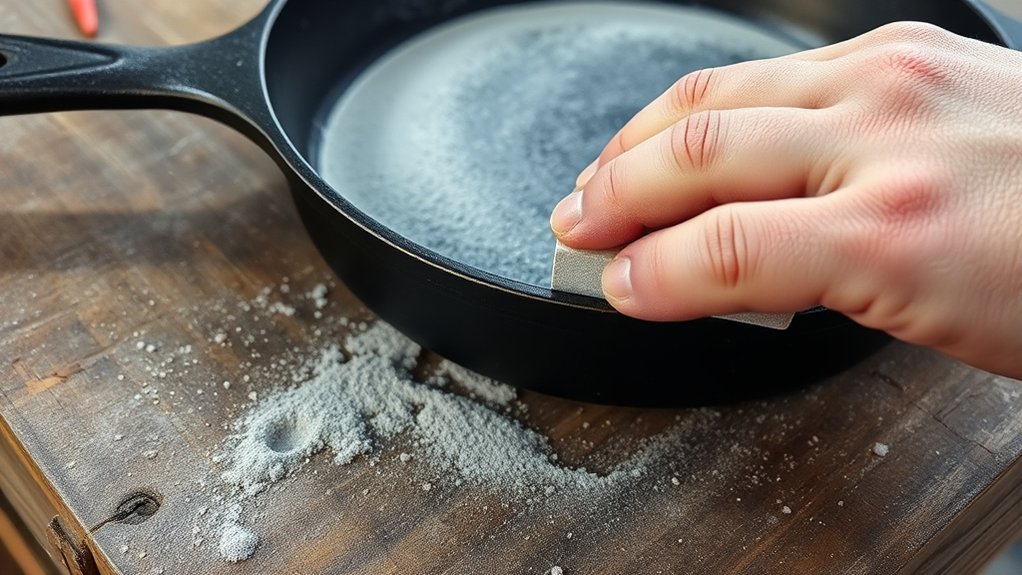
Although sanding a cast iron skillet requires care, you can effectively remove rust and residue by using the right tools and techniques. Begin by selecting fine-grit sandpaper (around 120 to 220 grit) to avoid damaging the skillet’s surface.
Secure the skillet and sand gently in circular motions, focusing on rusted areas. Use consistent pressure to guarantee even rust removal without gouging the metal. After sanding, rinse thoroughly to remove debris and dry immediately to prevent new rust formation.
For stubborn rust, consider using a wire brush attachment on a drill with caution. Always wear protective gear, such as gloves and a dust mask, to safeguard against particles.
Proper rust removal through these sanding techniques prepares your skillet for reseasoning and restores its cooking surface efficiently.
What Are Alternatives to Sanding for Restoring Cast Iron?
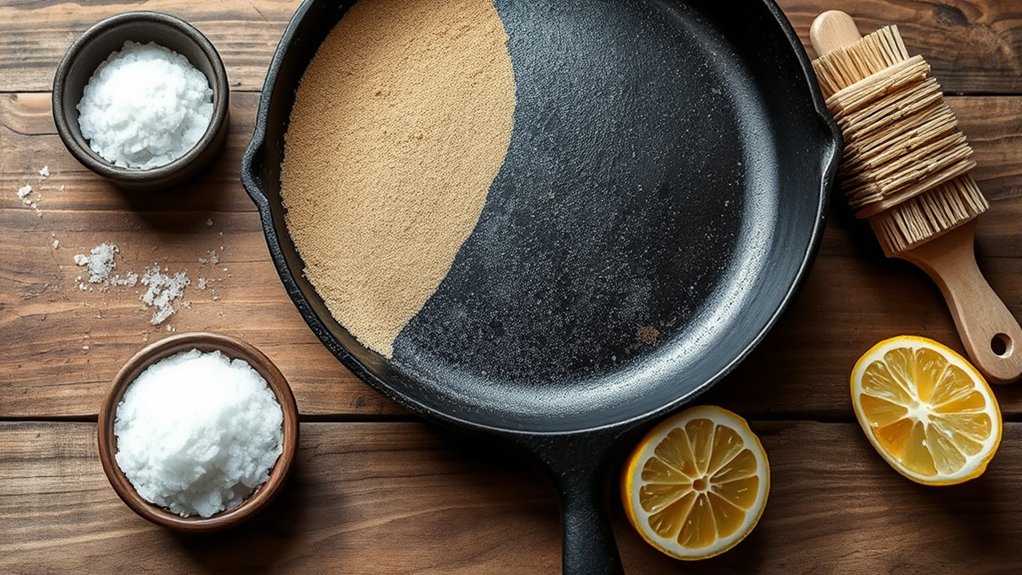
If you want to restore your cast iron without sanding, several effective alternatives exist that minimize surface abrasion while removing rust and buildup. Start with chemical cleaning methods such as soaking the skillet in a vinegar-water solution to dissolve rust gently.
You can also use baking soda paste combined with scrubbing pads to lift residue without damaging the metal. Electrolysis is another precise method to remove rust by reversing oxidation through electrical current.
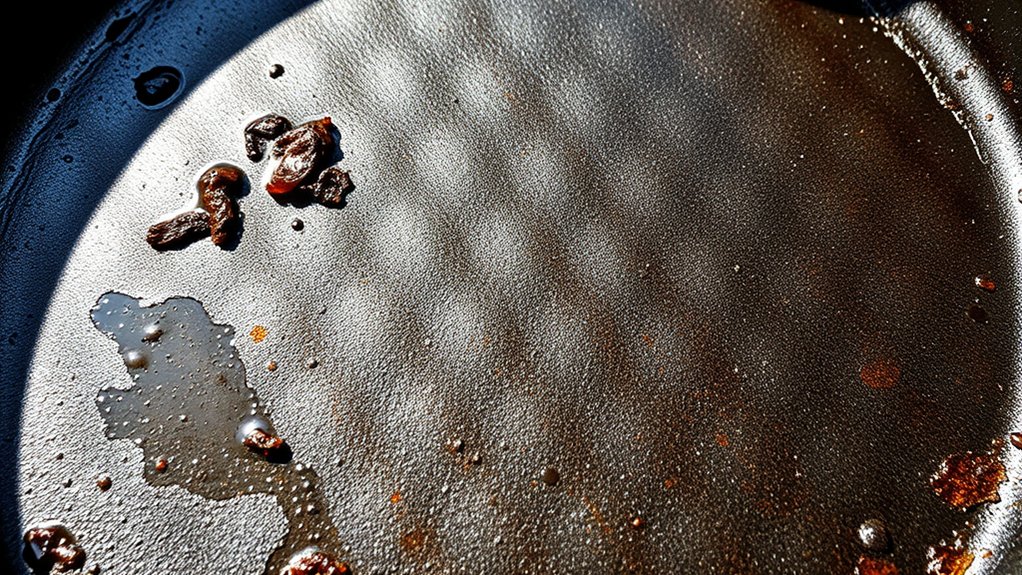
After thorough cleaning, apply proper seasoning techniques to protect and enhance the skillet’s surface. This involves coating it lightly with a high-smoke-point oil and heating it to polymerize the oil, creating a durable non-stick layer.
Seal and protect your cast iron by seasoning with high-smoke-point oil and heat to create a lasting non-stick finish.
These alternatives preserve the skillet’s integrity while restoring its cooking performance effectively.
How to Re-Season a Cast Iron Skillet After Sanding
Since sanding removes the existing seasoning and exposes bare metal, you’ll need to thoroughly re-season your cast iron skillet to restore its protective non-stick coating. Start by cleaning the skillet with hot water and mild soap to remove sanding residue, then dry it completely.
Choose an appropriate oil type with a high smoke point, such as flaxseed, grapeseed, or vegetable oil, for ideal polymerization. Apply a thin, even layer of oil over all surfaces, inside and out.
Preheat your oven to 450–500°F (230–260°C), place the skillet upside down on the middle rack with a foil-lined tray beneath to catch drips, and bake for one hour. Turn off the oven and let the skillet cool inside to solidify the seasoning.
Repeat this re seasoning technique 2–3 times for a durable, smooth finish.
How to Prevent Rust and Keep Your Cast Iron Skillet Smooth
After re-seasoning your cast iron skillet, protecting that newly formed layer from moisture and wear becomes your priority. Implementing preventive maintenance guarantees the skillet’s surface protection remains effective, preventing rust and preserving smoothness. Focus on these key steps:
Always dry the skillet thoroughly after washing; residual moisture accelerates oxidation. Apply a thin, even coat of cooking oil after each use to maintain the polymerized seasoning layer. Store the skillet in a dry environment, preferably with a paper towel inside to absorb any humidity.
Regularly following these practices minimizes corrosion risks and maintains the skillet’s non-stick surface. Remember, surface protection isn’t a one-time task; it requires consistent attention to extend your cast iron’s lifespan and optimize its cooking performance.
Frequently Asked Questions
Can Sanding Damage the Seasoning Layers on Cast Iron?
Yes, sanding can damage seasoning layers if done improperly. You should use gentle sanding techniques to avoid removing seasoning entirely.
Focus on seasoning restoration afterward to rebuild the protective, non-stick surface effectively.
What Grit Sandpaper Is Best for Cast Iron Seasoning?
You’ll want to use fine-grit sandpaper, around 220 to 320 grit, for sanding techniques on cast iron seasoning. This grit comparison guarantees you remove rust without damaging the seasoning layers, preserving surface integrity efficiently.
Is Sanding Necessary for New Cast Iron Skillets?
You don’t have to sand new cast iron skillets unless you want a smoother surface. For effective cast iron maintenance and skillet care, seasoning on a clean, lightly oiled surface is usually sufficient to build durability.
Can I Use a Power Sander on a Cast Iron Skillet?
You can use power tools on cast iron skillets, but choose low-speed sanders and fine-grit sanding techniques carefully to avoid damage. Always wear protection, and proceed slowly to maintain the skillet’s integrity and seasoning potential.
How Often Should I Sand My Cast Iron Skillet?
You should sand your cast iron skillet sparingly, only during major restoration.
Regular cast iron maintenance relies on seasoning and cleaning, while skillet care rarely requires sanding unless removing rust or damaged seasoning layers.
Conclusion
You can sand a cast iron skillet, but only when heavy rust or residue won’t come off with scrubbing—about 30% of restorations require this step. Use fine-grit sandpaper carefully to avoid damaging the surface.
After sanding, re-season your skillet thoroughly to restore its non-stick qualities and prevent rust. Regular maintenance, like drying promptly and applying oil, keeps your skillet smooth and functional for years.
Proper care guarantees your investment lasts a lifetime. When sanding is necessary, it is an effective method to bring your cast iron skillet back to life.


Leave a Reply