

Yes, you can replace bathtub faucet handles yourself with the right tools and preparation. Replacing these handles is a manageable DIY task that can refresh your bathroom’s look and improve functionality.
Start by shutting off the water supply to prevent any leaks or water damage.
Then, carefully remove the old handles using screwdrivers or an Allen wrench.
Make sure to select replacement handles that are compatible with your valve stems and match your bathroom’s finish.
Install the new handles securely, checking for smooth operation and making sure the set screws are tight to avoid leaks.
If you want to ensure a flawless replacement, understanding each step in detail will help you proceed confidently.
Key Takeaways
- Yes, you can replace bathtub faucet handles by turning off the water supply and removing the old handles carefully.
- Ensure replacement handles match your faucet’s valve stem type and size for proper fit and function.
- Use appropriate tools like screwdrivers and Allen wrenches to remove and install handles securely.
- Test new handles for smooth operation and tighten set screws to prevent wobbling or leaks.
- Regular maintenance and compatibility checks help avoid functionality problems after replacement.
How to Replace Bathtub Faucet Handles Yourself
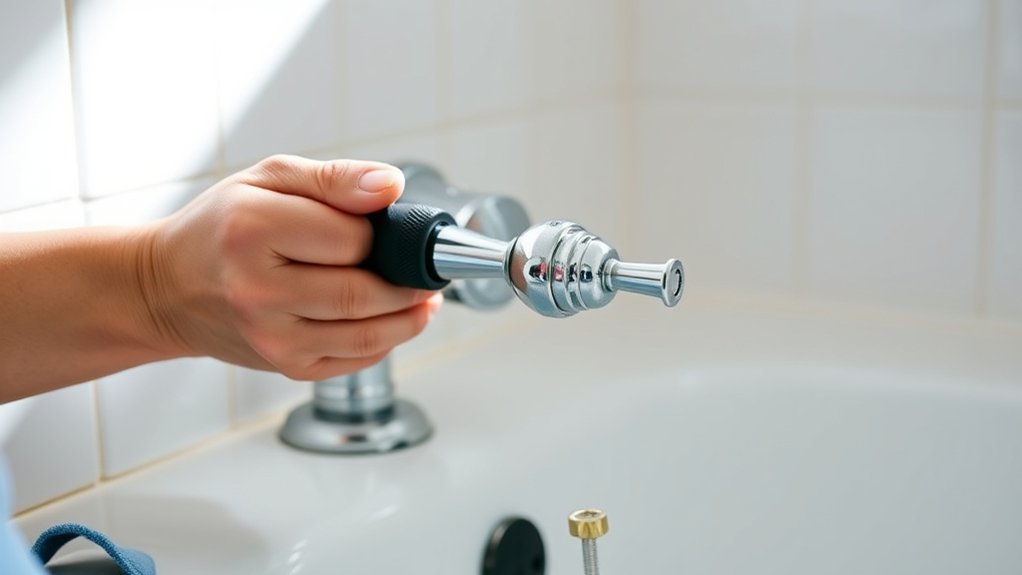
Start by turning off the water supply to your bathtub to prevent any leaks or water damage during the replacement process. Next, remove the existing faucet handle by locating and unscrewing the set screw, typically found under a decorative cap.
When selecting replacement handles, be aware of different bathtub handle types such as lever, knob, or cross handles. Choose faucet handle styles that match your bathroom’s decor and fit the existing valve stem.
After removing the old handle, clean the valve stem to guarantee smooth installation. Align the new handle onto the stem, secure it by tightening the set screw, and replace any decorative caps.
Finally, turn the water supply back on and test the handle for proper operation and water flow control.
Tools and Materials Needed for Replacement
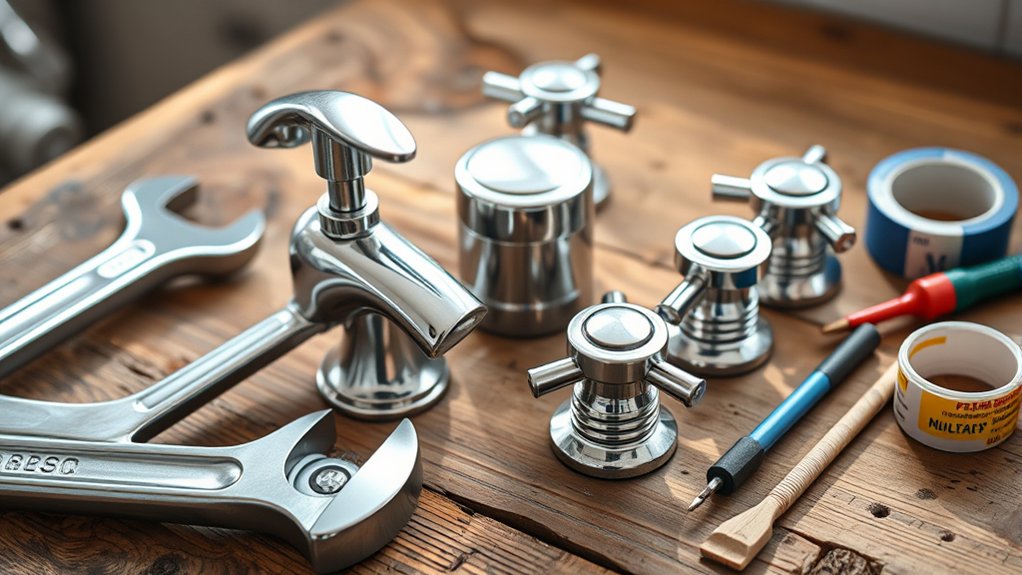
You’ll need specific tools like a screwdriver, adjustable wrench, and possibly an Allen key to remove and install the handles properly. Replacement materials typically include new faucet handles and compatible cartridges or stems. Having these on hand guarantees a smooth and efficient replacement process.
Essential Replacement Tools
Before you begin replacing bathtub faucet handles, gather the essential tools and materials to guarantee a smooth process. Knowing the specific faucet handle types and handle design options you’re working with helps you select the right tools.
Different designs may require distinct approaches for removal and installation.
You’ll typically need:
- A screwdriver set (flathead and Phillips) for removing screws securing the handles
- An adjustable wrench or pliers to loosen nuts or bolts inside the faucet assembly
- An Allen wrench set, as some faucet handles use hex screws for attachment
Having these tools ready facilitates you can handle various faucet handle types efficiently, minimizing the risk of damage. Preparing properly saves time and prevents frustration during replacement.
Required Replacement Materials
With your tools prepared, focus on gathering the replacement materials specific to your bathtub faucet handles. Start by identifying the correct replacement handle types compatible with your existing faucet. Handles vary by design, such as lever, knob, or cross, and must match the faucet style compatibility to guarantee proper fit and function.
Check the manufacturer’s specifications or measure the handle base diameter and stem type for accuracy. Additionally, have new screws or fasteners on hand, as original hardware may be corroded or stripped. Consider supplying plumber’s grease to lubricate moving parts during installation.
If your faucet includes decorative escutcheons or trim plates, confirm you have matching replacements. Having these precise materials ready will streamline the replacement process and prevent unnecessary delays or mismatches.
How to Remove Old Bathtub Faucet Handles
You’ll need a screwdriver and possibly an Allen wrench to start removing the old faucet handles. Begin by locating and loosening the set screws, then carefully pull the handles off the valve stems.
If the handles are stuck, applying penetrating oil and gently prying can help loosen stubborn fixtures without causing damage.
Tools Needed For Removal
To remove old bathtub faucet handles efficiently, gather a few essential tools: a flathead screwdriver, a Phillips screwdriver, an adjustable wrench, and a hex key set. These tools accommodate various faucet handle types and removal techniques, ensuring you can handle most designs.
You’ll need the flathead or Phillips screwdriver to remove visible or hidden screws on the handle. The adjustable wrench helps loosen retaining nuts or valve stems when necessary. The hex key set is vital for handles secured with hex screws, common in modern fixtures.
Flathead and Phillips screwdrivers for screw removal
Adjustable wrench for nuts and valve stems
Hex key set for hex screws on certain faucet handles
Having these tools ready streamlines the removal process and prepares you for different faucet handle types.
Steps To Remove Handles
Start by turning off the water supply to prevent leaks during handle removal. Next, identify the faucet handle type, whether it’s a screw-on, set-screw, or decorative cap style.
For screw-on handles, locate and remove the central screw, typically hidden under a decorative cap. Gently pry off the cap with a flathead screwdriver.
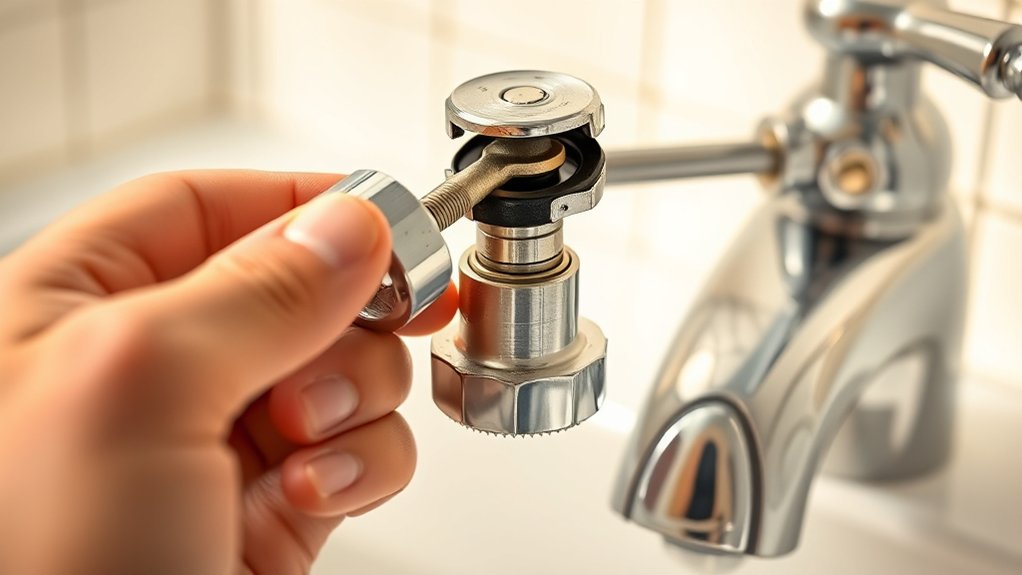
With set-screw handles, find the small screw on the side and loosen it using the appropriate Allen wrench or screwdriver. Once screws are removed or loosened, carefully pull the handle straight off the valve stem to avoid damaging internal components.
Always keep track of hardware for reinstallation. These steps align with common installation tips ensuring compatibility when fitting new handles. Proper removal prepares you for a smooth replacement without damaging the faucet assembly.
Handling Stubborn Fixtures
Apply steady, even pressure when removing old bathtub faucet handles that resist coming off. Stubborn screws and rusted fittings often cause handles to seize. Start by applying a penetrating lubricant to loosen corrosion. Let it sit for at least 10 minutes before attempting removal.
Use the correct screwdriver or Allen wrench to avoid stripping screws.
Gently tap the handle base with a rubber mallet to break rust seals.
Use a handle puller tool if manual force isn’t enough.
Heat rusted fittings carefully with a hairdryer to expand metal and ease loosening.
Avoid excessive force to prevent damaging plumbing. With patience and the right tools, you can effectively remove stubborn bathtub faucet handles and prepare for replacement.
How to Choose Replacement Bathtub Faucet Handles
How do you determine the right replacement handles for your bathtub faucet? Start by evaluating the style options compatible with your existing valve system. Single-handle, dual-handle, or cross-handle designs are common.
Measure the handle base diameter and stem size to guarantee a precise fit. Next, consider handle materials: brass offers durability and corrosion resistance, while zinc alloys provide cost efficiency but less longevity.
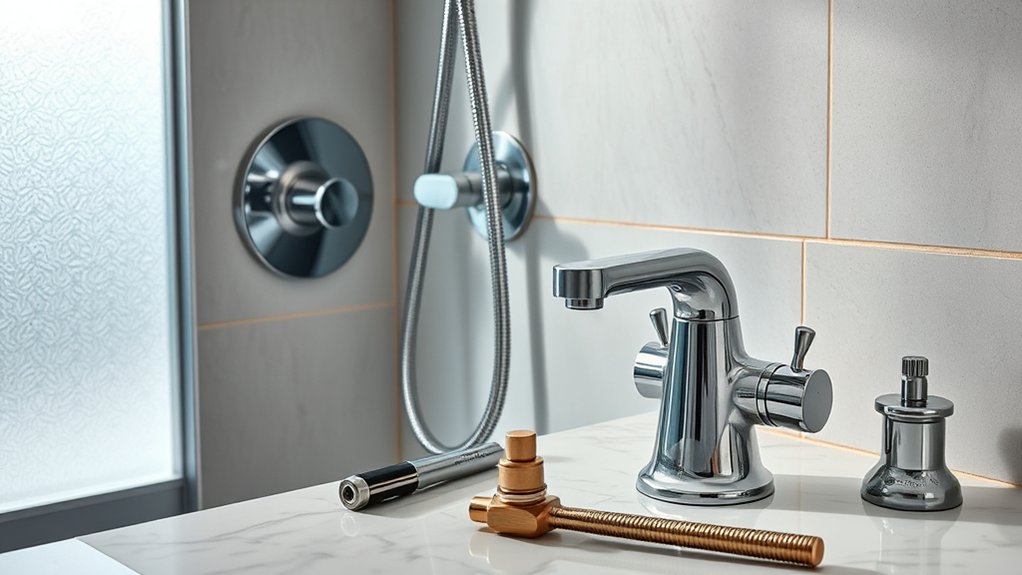
Acrylic or plastic handles are lightweight but prone to wear. Match the replacement handles’ finish to your bathroom fixtures for a cohesive look and verify the handle’s turn direction aligns with your current setup.
How to Install New Bathtub Faucet Handles
Once you’ve selected replacement handles that fit your valve system and match your bathroom’s style, you can proceed with installation. Start by turning off the water supply to avoid leaks. Remove the old handles by unscrewing the set screws, usually found under a decorative cap. Clean the valve stem to guarantee a smooth fit.
To install new handles:
To install new handles, align them carefully, secure with set screws, and ensure smooth, wobble-free operation.
Align the new bathtub handle styles with the valve stem orientation. Use appropriate faucet handle materials, like brass or stainless steel, for durability. Secure the handle with the set screw and test for smooth operation.
Make sure each handle turns effortlessly without wobbling. Proper installation enhances both function and aesthetics in your bathroom.
Troubleshooting Common Issues When Replacing Bathtub Faucet Handles
Why might your new bathtub faucet handles feel loose or fail to turn smoothly? One common mistake is not securing the handle screws tightly or using incorrect screws for the handle types. Each handle type, whether knob, lever, or cross, requires specific fasteners and alignment.
Another issue is improper installation of the cartridge or valve stem, causing resistance or looseness. Check for debris or mineral buildup inside the valve that can hinder smooth operation. Also, verify that the handle fits the valve stem properly; mismatched handle types can cause functionality problems.
If handles still feel loose, inspect the set screws and tighten them using the correct tool. Addressing these factors guarantees your bathtub faucet handles operate reliably and avoid premature wear.
Frequently Asked Questions
Can I Replace Faucet Handles Without Shutting off Water Supply?
You shouldn’t replace faucet handles without shutting off the water supply. For safe handle replacement tips, always turn off the water to prevent leaks or damage. This ensures water supply safety and a smooth, risk-free repair process.
Are Universal Bathtub Faucet Handles Compatible With All Brands?
Think universal compatibility means one handle fits all? It doesn’t. You’ll find universal bathtub faucet handles suit many brands but not every model.
Check handle styles and stem sizes precisely before buying to guarantee a perfect fit.
How Long Does It Typically Take to Replace Faucet Handles?
Handle replacement time usually takes 30 to 60 minutes. You’ll need a screwdriver, Allen wrench, and possibly pliers.
Make sure to turn off the water supply before starting for a smooth, safe handle replacement process.
Can Worn-Out Handles Cause Leaks or Water Damage?
Imagine water seeping silently from a worn handle. Yes, handle wear can cause leaks. By replacing damaged parts promptly, you guarantee leak prevention, protecting your bathroom from costly water damage and maintaining efficient faucet operation.
Should I Hire a Plumber for Handle Replacement or DIY?
You can DIY if you have basic plumbing skills, saving money on labor. But if you lack experience, hiring a plumber guarantees proper installation and avoids costly mistakes.
Weigh cost comparison and your comfort level carefully.
Conclusion
Replacing your bathtub faucet handles is straightforward when you follow the right steps and use the proper tools. With patience, you’ll remove the old handles and install new ones that fit perfectly, like gears meshing smoothly in a well-oiled machine.
If you encounter any issues, troubleshooting will help you resolve them quickly. By doing this yourself, you save time and money while ensuring your bathroom functions efficiently and looks updated.
In conclusion, yes, you can replace bathtub faucet handles yourself, making it a simple and rewarding DIY project.
Leave a Reply